How to Make Your Own G10 Build Plate

Bed adhesion serves as the foundation for successful 3D prints, and G10 offers superior adhesion due to its unique chemical composition. I recently was apart of a discussion with a fellow 3D printing enthusiast by the name of 'Whiskers Jelly' who informed me of a cost-effective, and relatively painless method for creating your own G10 build plate.
Gathering Materials

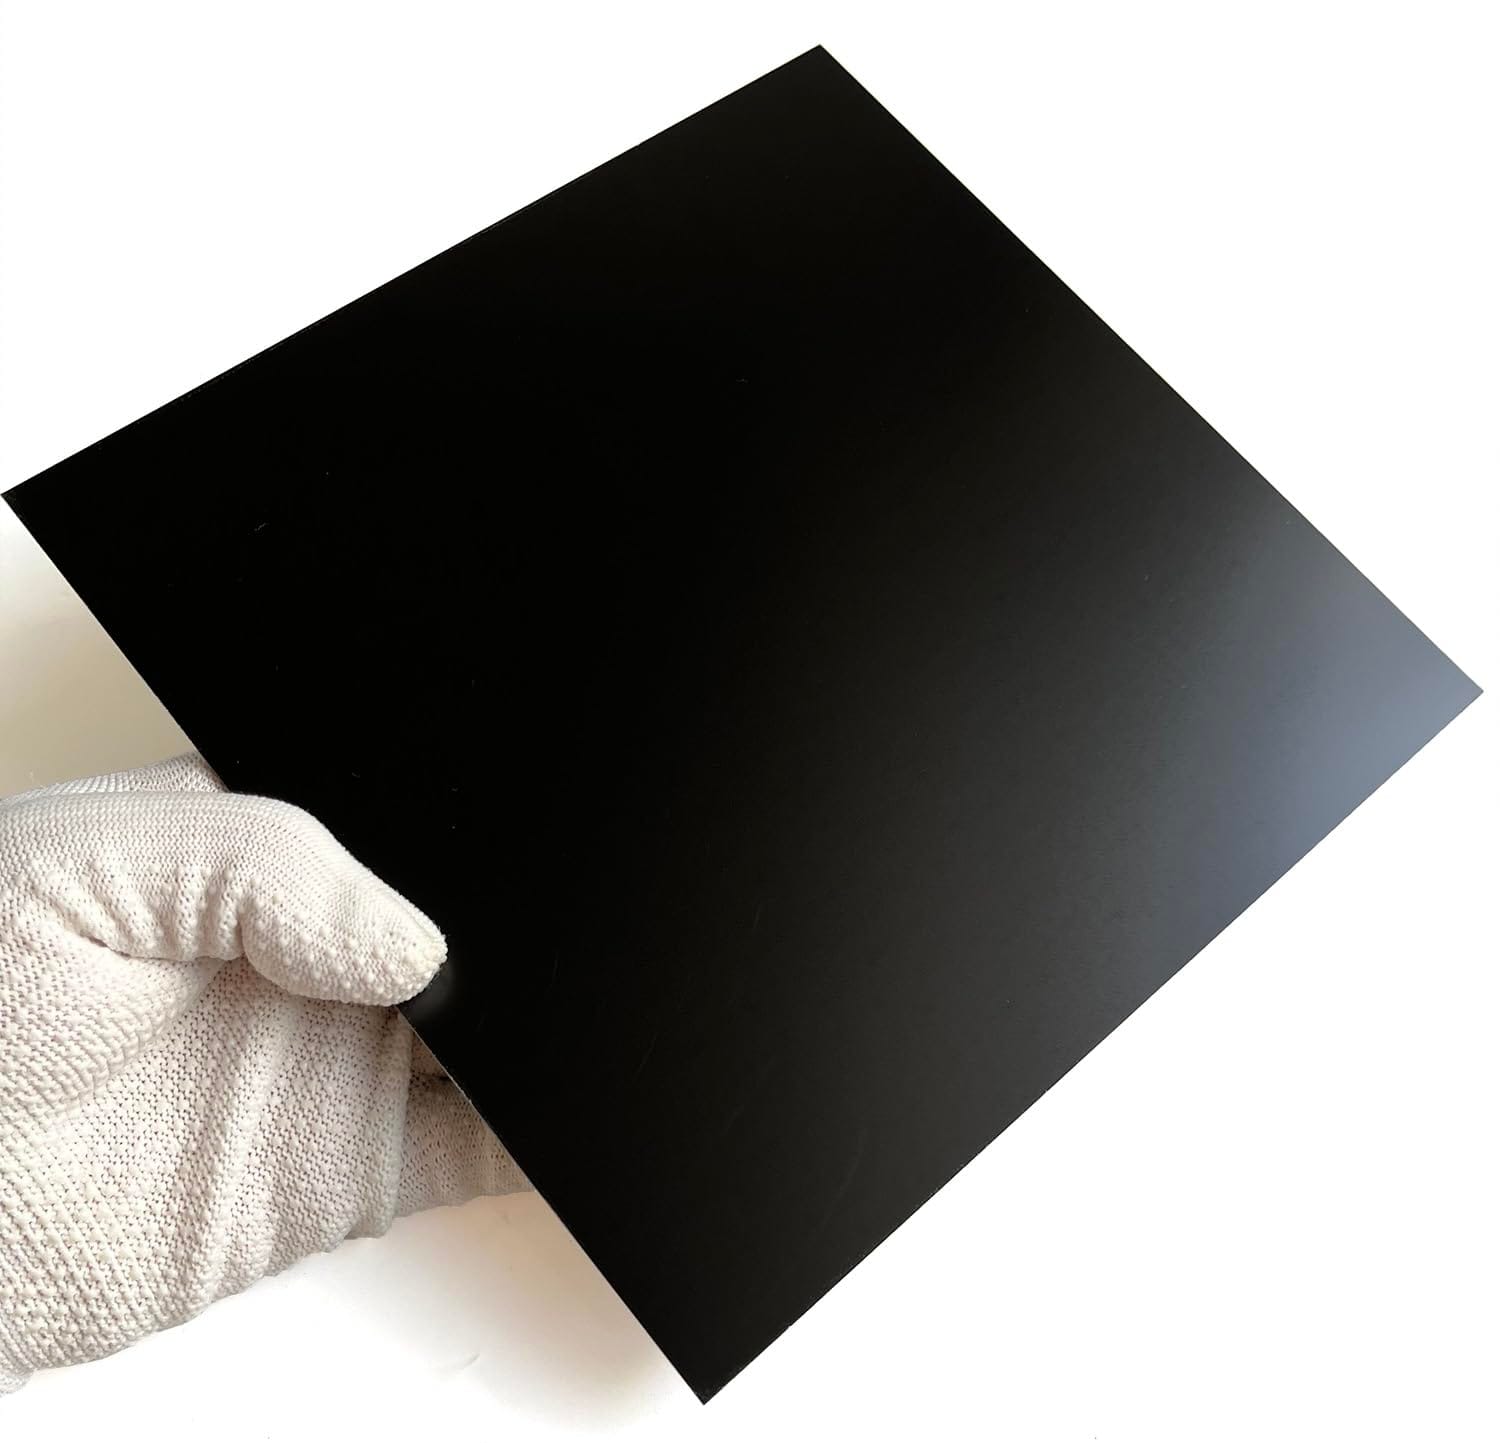
Shown above is an example of one of the many offerings for a G10 FR4 sheet, which will mark the starting point of your venture into designing your own G10 build plate. You will want to go with a thickness of 0.5mm, and a size that is slightly bigger than your standard build plate. For my P1S, which is 256 x 256 mm, I selected the 300 x 300mm sheet.

The next item to add to your cart is 3M 468 adhesive. The sheets shown above will likely perform as the most straightforward means of adhering the G10 sheet to the build plate, as it is the same size in this instance, and both can be cut together.

Lastly, you will want to purchase a PEO build plate as it is resilient and smooth, allowing for reapplications as the build plate becomes worn. If using the links below, you will conveniently have enough G10 along with 3M 468 to repeat the process as needed.
The Build
Apply a sheet of 3M 468 double-sided adhesive to a bare and fully cleaned build plate. Ensure removal of the PEO material from the build plate. Next, apply the G10 FR4 sheet on top of the 3M 468 adhesive, ensuring proper alignment. Cut the G10 and 468 to the desired dimensions to match that of your print bed, and you will now have your own G10 build plate, for much cheaper than a proprietary solution.
Links